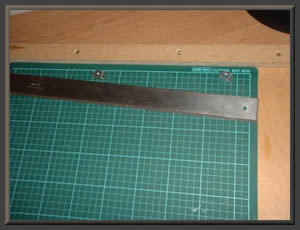
| The usual size of each square is 13/4 inches but the choice is yours. Before choosing a size, it is a good idea to plan how you will add borders especially if you are going to use a patterned strip as the corners should match otherwise it will stand out like a sore thumb. Think about what veneer to use for the border and how you will create a contrast between the squares and the borders. Stringers (thin strips of veneer) play a very important role in achieving a nice balance. Remember to have enough matching veneer to finish the job. If borders are being "book matched" then make them equal on each side. An invaluable aide for all Parquetry work is the squaring board. Simple to make and worth its weight in gold. Simply get a piece of flat but thick board about 19mm MDF or blockboard and screw to the top edge a strip with a perfectly straight edge. The one in the picture has MDF but a strip of Corrian or even steel will do even better. This provides a straight edge to work off of and a variety of "spacers" can be used. Two flat bolt heads are shown but coins, washers or different sizes of bolts can all be used as you will see later. |
|
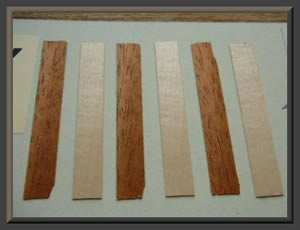
Fig 2
Using a parallel edge strip like a steel straight edge shown later, cut four strips of one colour and five of a contrasting colour. Each strip length must be greater than eight times the size of the square size.
|
|
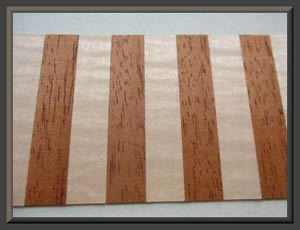
Fig 3
Join the nine strips together. A good way of doing this is to use small strips of masking tape on your working side as a temporary hold (see Fig 14) and then join the strips on the other side with gummed paper veneer tape. (See Fig 6) Make sure you remove any masking tape that was used as a temporary hold.
|
|
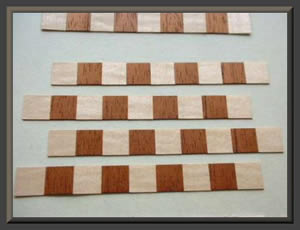
Fig 4
Place the joined strips on the squaring board with the long edge against the fixed straightedge of the board. Using a set square and the steel straight edge, cut across the strips to give an exact right angle with the minimum amount of wastage. See Fig 9 for the method. Then turn the strips through 90 degrees and using your newly cut edge cut across the strips using the same straight edge that you cut the first strips with to ensure you have perfect squares. (When cutting across the grain it helps to dip the tip of the blade into candle wax which acts as a lubricant). You should finish up with new strips as shown above. Stagger the strips alternately and join with paper tape on the reverse side. You will now realise why you had an odd number of strips to start with.
|
|
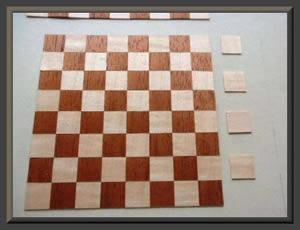
Fig 5
Cut off the spare squares on each side to leave your 8 x 8 chessboard. Glue along each join with PVA
|
|
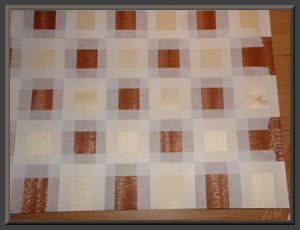
Fig 6
Underside showing the taped up strips. This will be your finished side eventually.
|
|
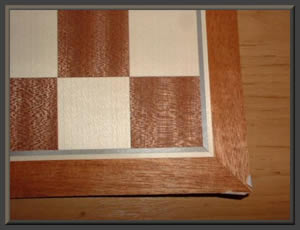
Fig 7
The board can now be finished off with stringers and borders. Cutting these accurately is very easy with the squaring board as shown in the following pictures.
|
|
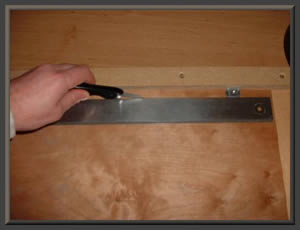
Fig 8
Showing how a veneer strip can be cut using the spacers.
|
|
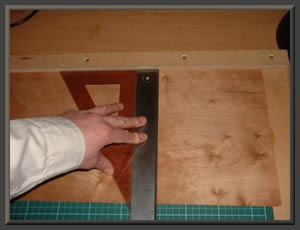
Fig 9
Squaring off using a set square and steel straight edge.
|
|
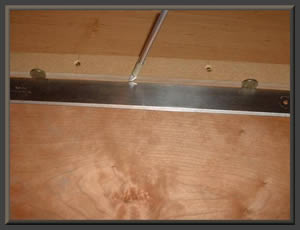
Fig 10
Cutting stringers using coins on edge. Remember when cutting along the grain you should always start with a gentle guide cut and follow up with more heavier cuts until complete. Once the centre is cut between the coins you can apply firm pressure to the straight edge and remove the coins to complete each end.
|
|
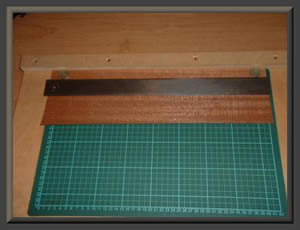
Fig 11
Showing coins used flat as spacers for borders.
|
|
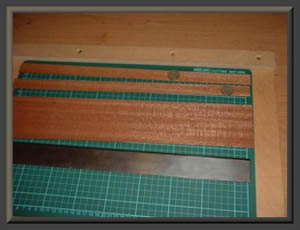
Fig 12
Coins are very accurate for this type of work and make excellent spacers.
|
|
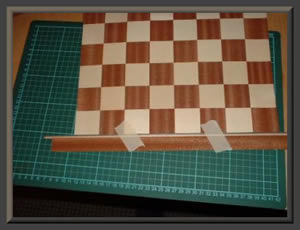
Fig 13
Assemble your stringers and border against the edge of the chessboard and tape into place. Leave enough overlap each end for the mitre join.
|
|
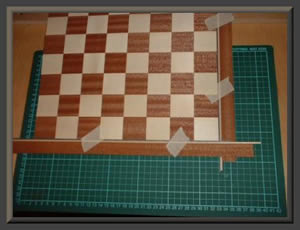
Fig 14
Work clockwise around the four sides always going over the top of the previous side to help when cutting the mitres.
|
|
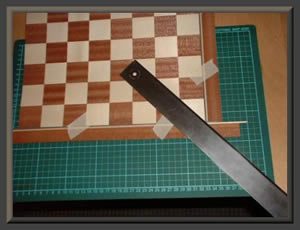
Fig 15
Line up your steel straight edge very carefully to the exact points of joining. An easy way of doing this accurately is to mark the inner point gently with the blade and then hold the blade in the right angle formed by the outer borders. Then slide the straight edge up to the blade and line up also with you small cut.
|
|
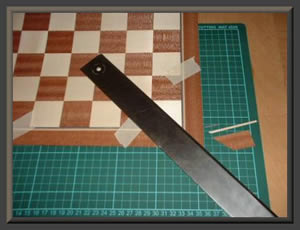
Fig 16
Using a gentle stroking action cut through the stringers and border. Make sure you do not cut into the corner square of the chessboard as this will show up!!!!
|
|
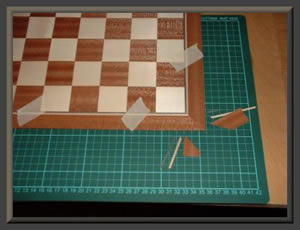
Fig 17
You should now have a perfect mitre so repeat on the other three corners. Don't forget to tape them up with paper tape and to glue them as the points are easily damaged.
|
|
All that remains is to press the finished veneer onto the base board. Not an easy job if you don't have access to a large press or a vacuum bag press. You may need to resort to contact adhesive and don't forget the "balancing" veneer on the other side of the board to prevent bowing. Even a thick board can be bowed by veneering just one side. |